Wallcovering & Wall Protection
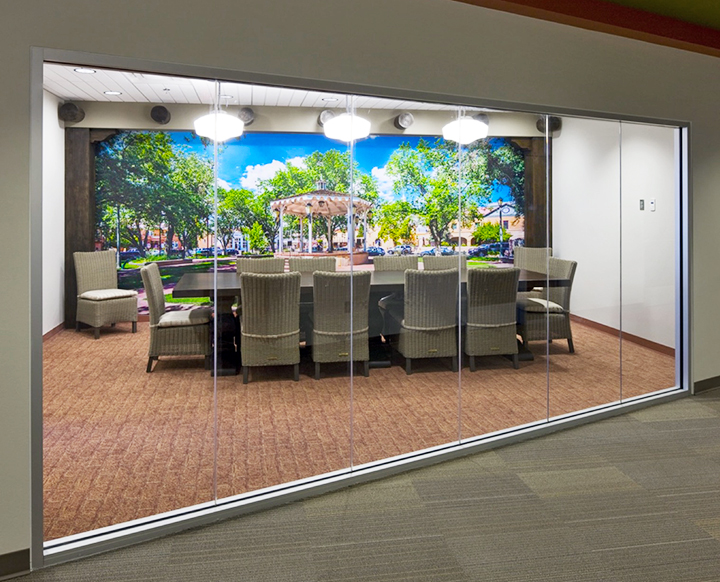
From murals to large-scale art pieces – crisp images and stunning colors that can stand up to anything and everything that you can throw at them.
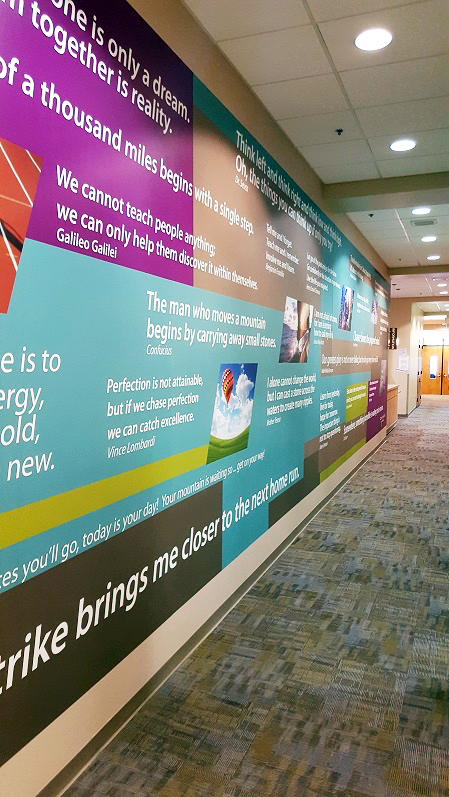
custom branding art on wallpaper
The Design Challenge
Long featureless hallways or corridors that offer nothing in the way of visual engagement, or wayfinding and location orientation. Large, prominent sections of blank wall that reflect a sterile, institutional feel. A lobby, hallways, cafeteria, or stairwell that do nothing to communicate and amplify your company values, your brand identity, or share messages of inspiration and energy.
The Impact
An experiential vacuum. A series of lost opportunities to create truly amazing human experiences. Wasted moments that could have been used to distract from stress or pain, or to help nurture focus and motivation. Disoriented visitors whose anxiety is amplified with no clear sense of where they are, or where to go. Or a grumpy CMO who discovers the company brand could have been promoted and reinforced throughout the company’s facilities.
The Solution
Wall Panel w/ Protection is an innovative solution that provides the high-impact durability and longevity of PETG, with the clear, crisp imagery of high-resolution digital printing.
Imagery is back-printed on a second surface transparent .040 PETG sheet, before a polyester backer is applied. Perfect for high-traffic areas, transitional spaces, and pediatric/children’s spaces that hosts curious little hands.
Design Recommendations
Wall panels are economical and versatile solutions that can easily solve for a wide range of interior design, aesthetic, and marketing challenges.
Wall panels immediately transform entire walls into pieces of art.
Walls can also become canvases on which to promote brand identity through custom graphics, logos, or messaging.
Imagery can also be used to aid in wayfinding and clear location identification.
Product Specifications
All wall panels are printed at high-resolution to assure crisp and detailed images.
For specific technical specifications, click the below link to download the wall covering product info sheet.